

Build it yourself
Everything is open source — the iOS app, both devices, the firmware and the docs. Pick a track: build the app (needed for both), then the device that matches your piano. Each step links to the exact files on GitHub.
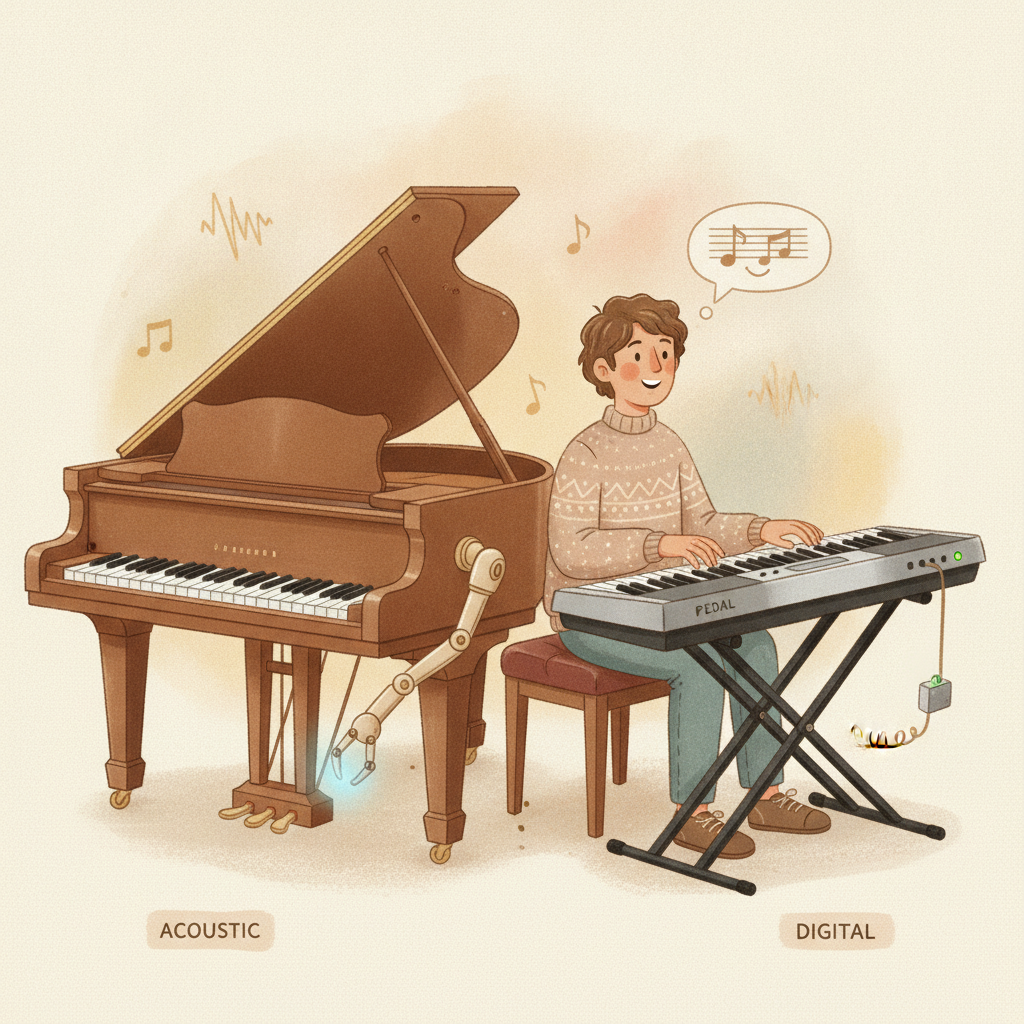
iOS app
Required for both devices
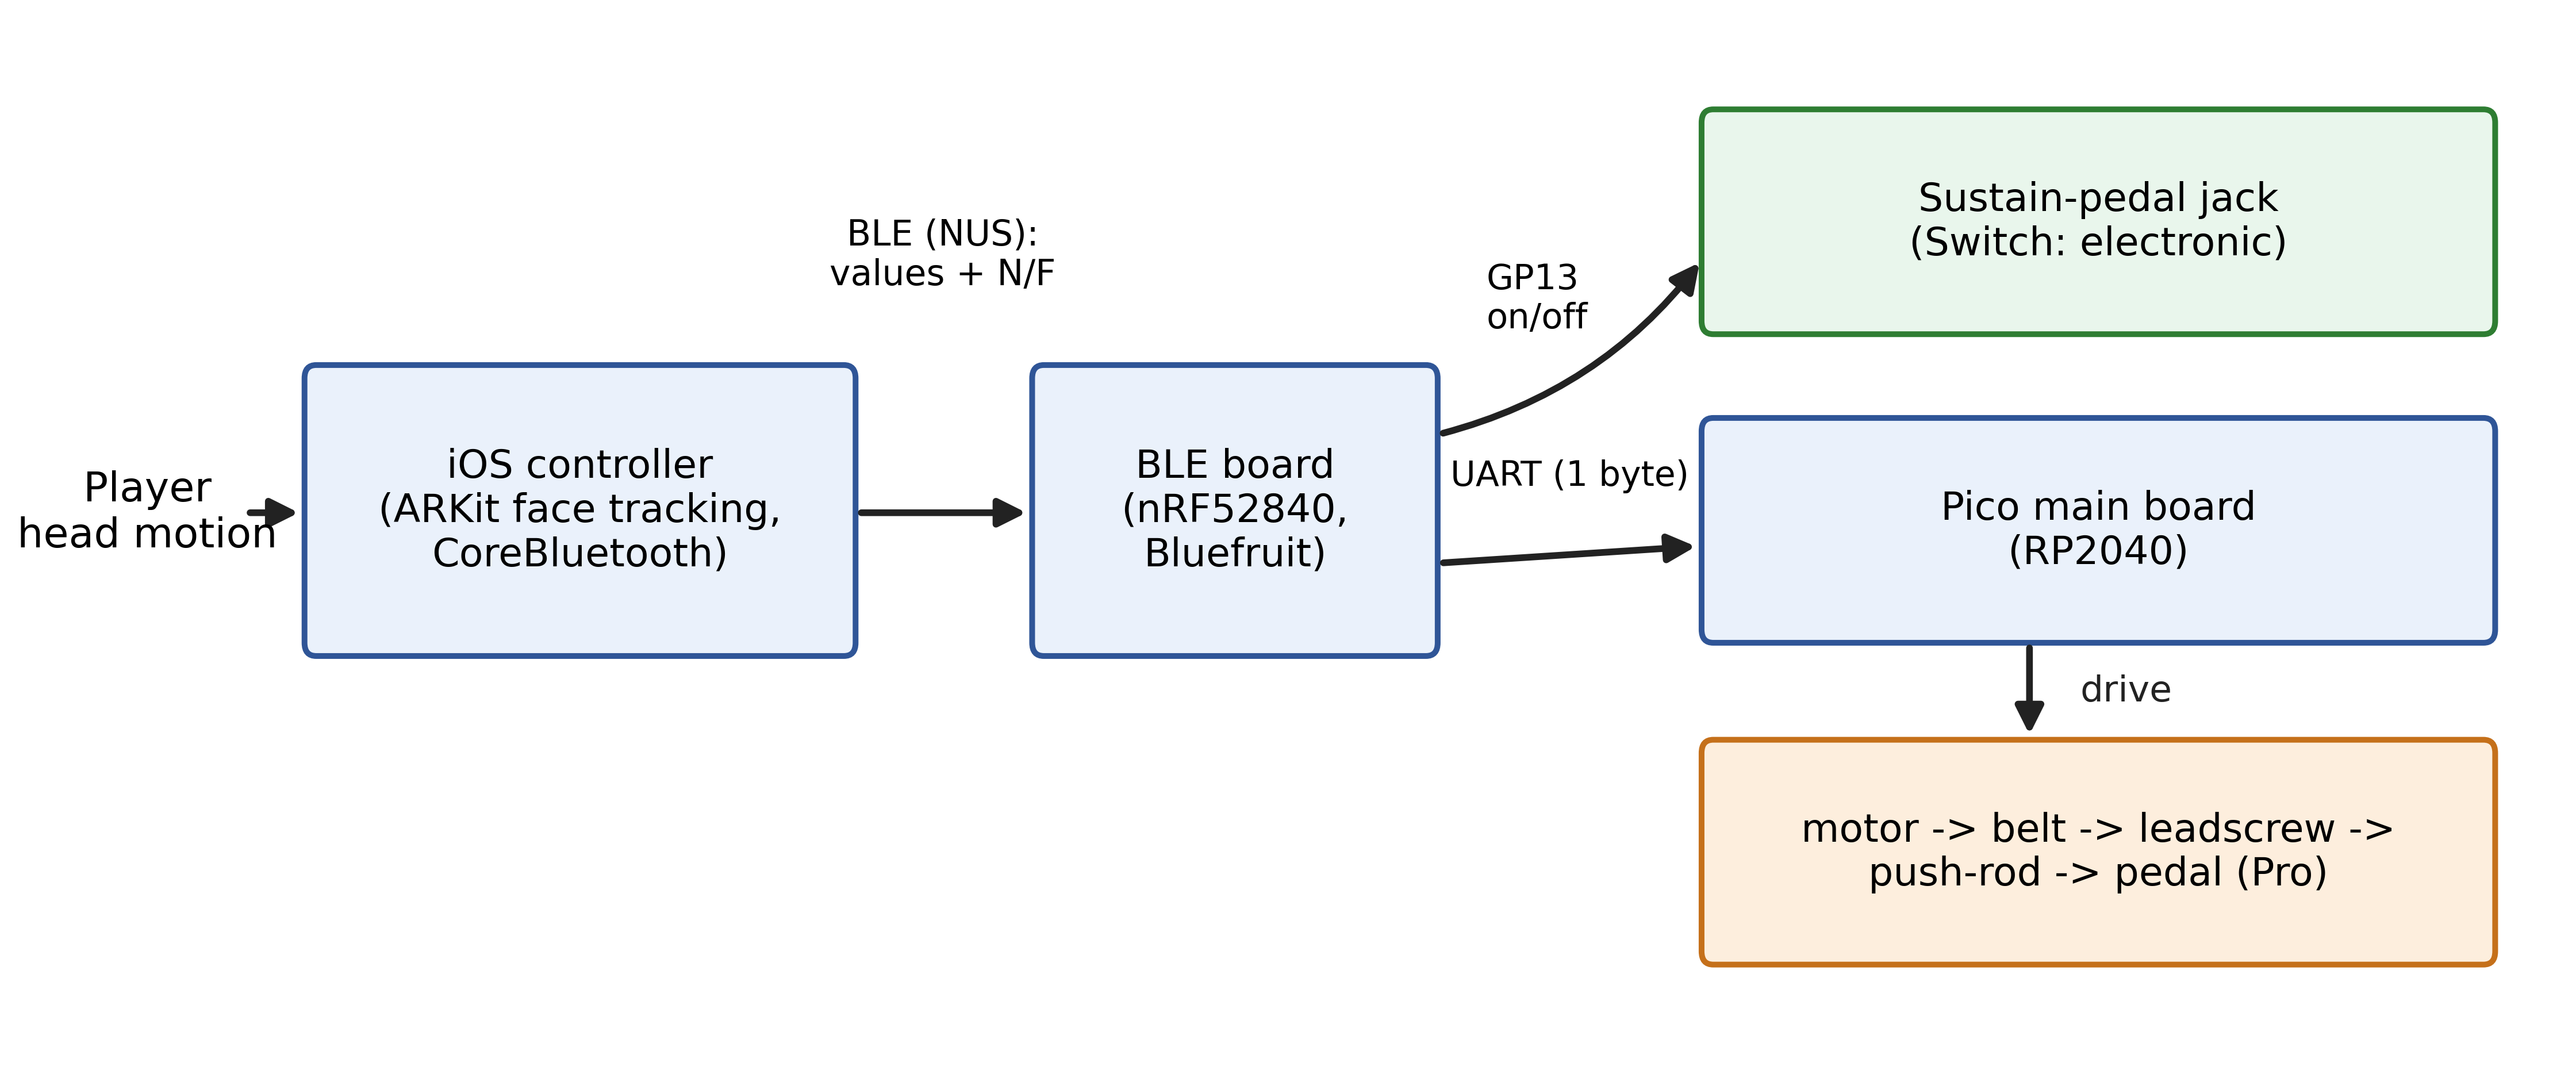
The app reads your head angle with Face-ID tracking and sends pedal commands over Bluetooth. It is now free on the App Store — just download it. Building from source is for developers who want to customise or contribute; the steps below show how.
- 1
What you need
A Mac with Xcode 15+, an iPhone/iPad with a TrueDepth (Face ID) camera (the Simulator can’t do head tracking), and a free Apple ID to install on your own device.
- 2
Get the source & open it
Clone the repository and open bFaaaPSwitch1.xcodeproj in Xcode.
- 3
Set your signing
In Signing & Capabilities, choose your Team and change the Bundle Identifier to something unique.
- 4
Build to your device, then pair & tune
Run on the connected iPhone/iPad and allow Camera and Bluetooth. Then turn on the device, connect, and preset your threshold (offset) and multiplier — together they set your response speed.
bFaaaP Switch
For digital pianos & keyboards
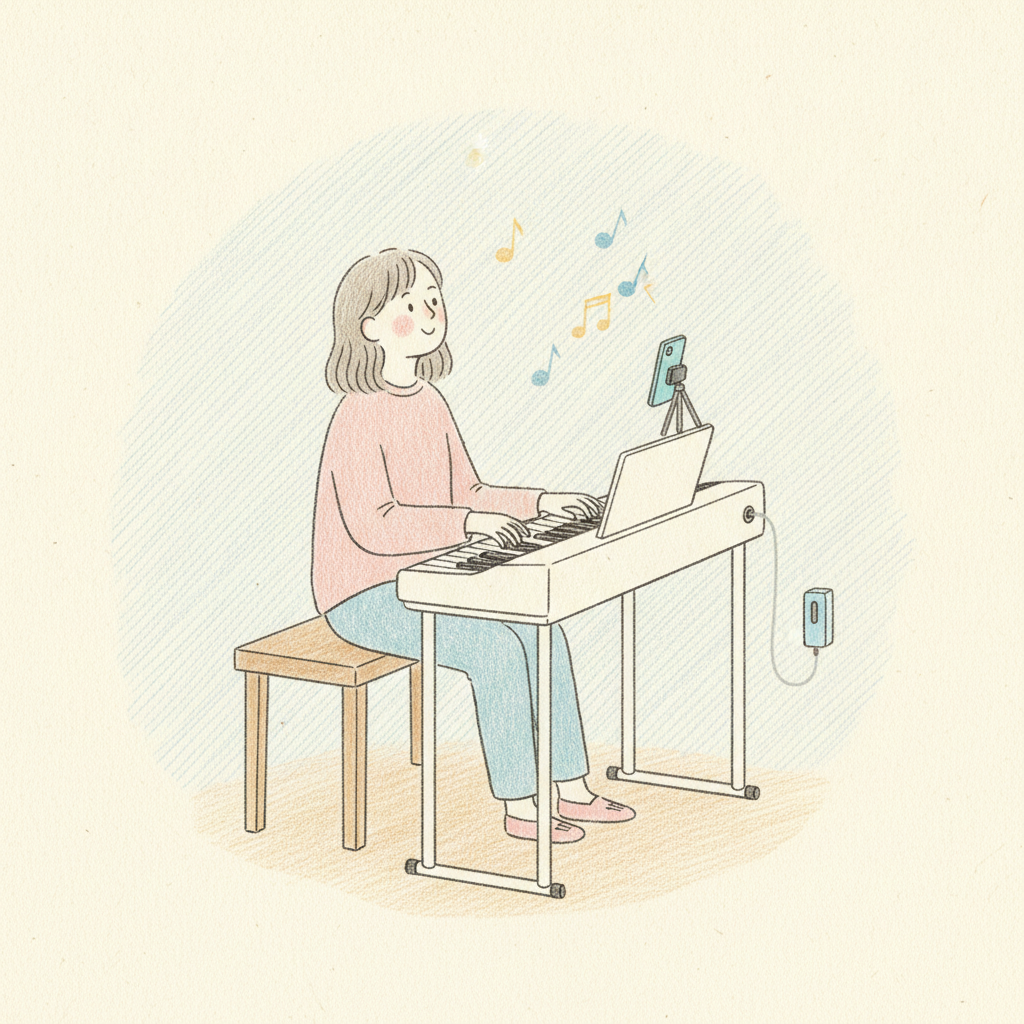
The small, inexpensive version for digital pianos and keyboards. Instead of a motor it switches the sustain electronically through the instrument’s sustain-pedal jack — no motor, no airback. It uses the same iOS app and BLE board as the Pro.
✅ Hardware confirmed by the maker: board = ItsyBitsy nRF52840; a ROHM RU1J002YN logic-level N-MOSFET on GP13 switches the sustain line low-side (no series resistor); power = 2× AA; it starts on RESET.
- 1
Before you start
An Adafruit ItsyBitsy nRF52840 board, a ROHM RU1J002YN N-channel MOSFET, 2× AA batteries, a connector for the sustain-pedal jack (commonly 6.3 mm / TS), and an iPhone/iPad with Face ID.
- 2
Flash the BLE board
Flash the standalone Switch firmware to the nRF52840 (double-tap RESET → UF2 bootloader → upload). Confirm it advertises as bFaaaPSwitch_1…4.
- 3
Add the switch & wire to the jack
Drive the MOSFET from GP13 to open/close the sustain contact (no series resistor), and wire it across the instrument’s sustain-pedal jack (TS tip/sleeve).
- 4
Pair & use
Install the iOS app, connect over Bluetooth, match your instrument’s polarity with the on-type / off-type toggle (n / f), preset offset and multiplier, and play.
bFaaaP Pro
For acoustic pianos (grand & upright)
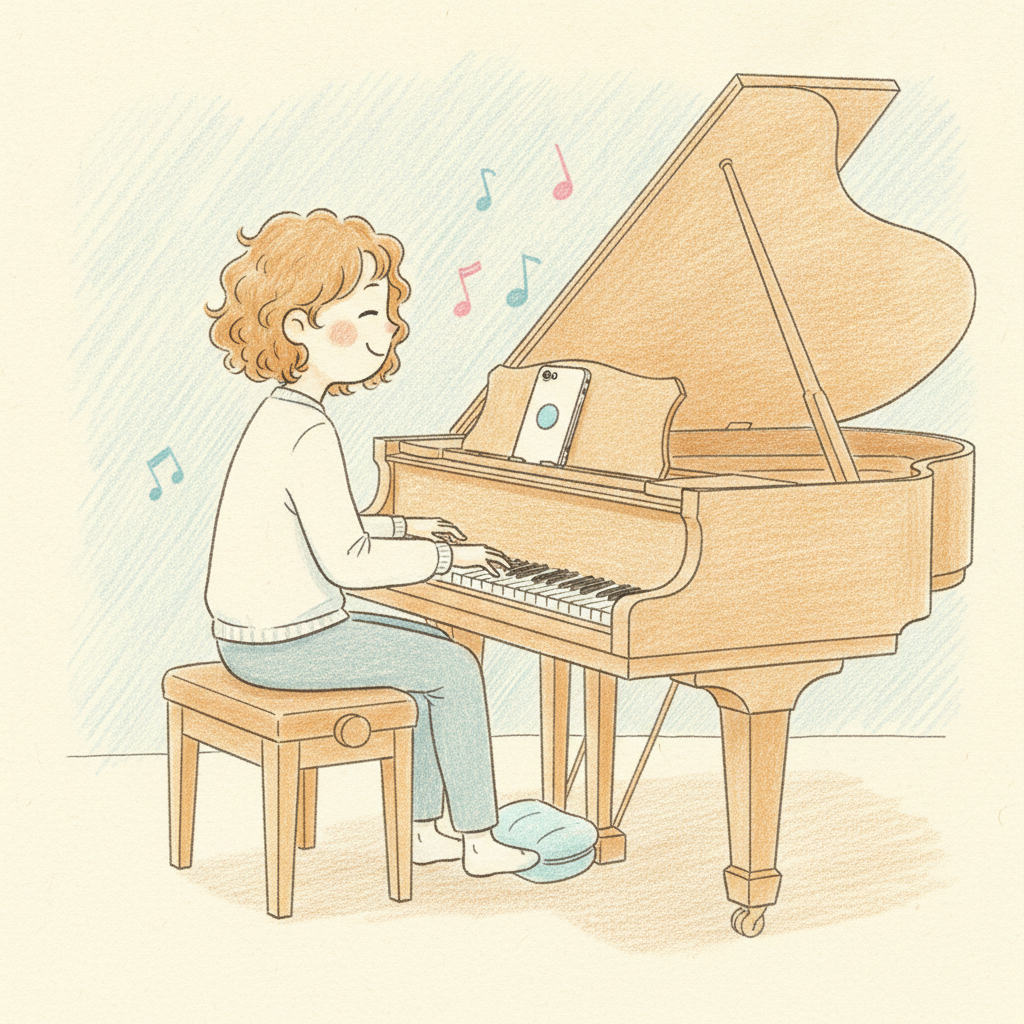
A small motor presses an acoustic piano’s sustain pedal, anchored by an airback air-cushion — nothing is screwed to the piano. The build is a vertical drive column plus the two boards and the airback pump.
🚧 Draft: the electrical schematic (Taguchi) and the mechanical layout (Narusawa) are confirmed; still being finalised are the stepper successor’s firmware (planned motor = a same-size NEMA17, STEP/DIR; the original is end-of-life) and the final printed-part variant.
- 1
Print the parts & get the electronics
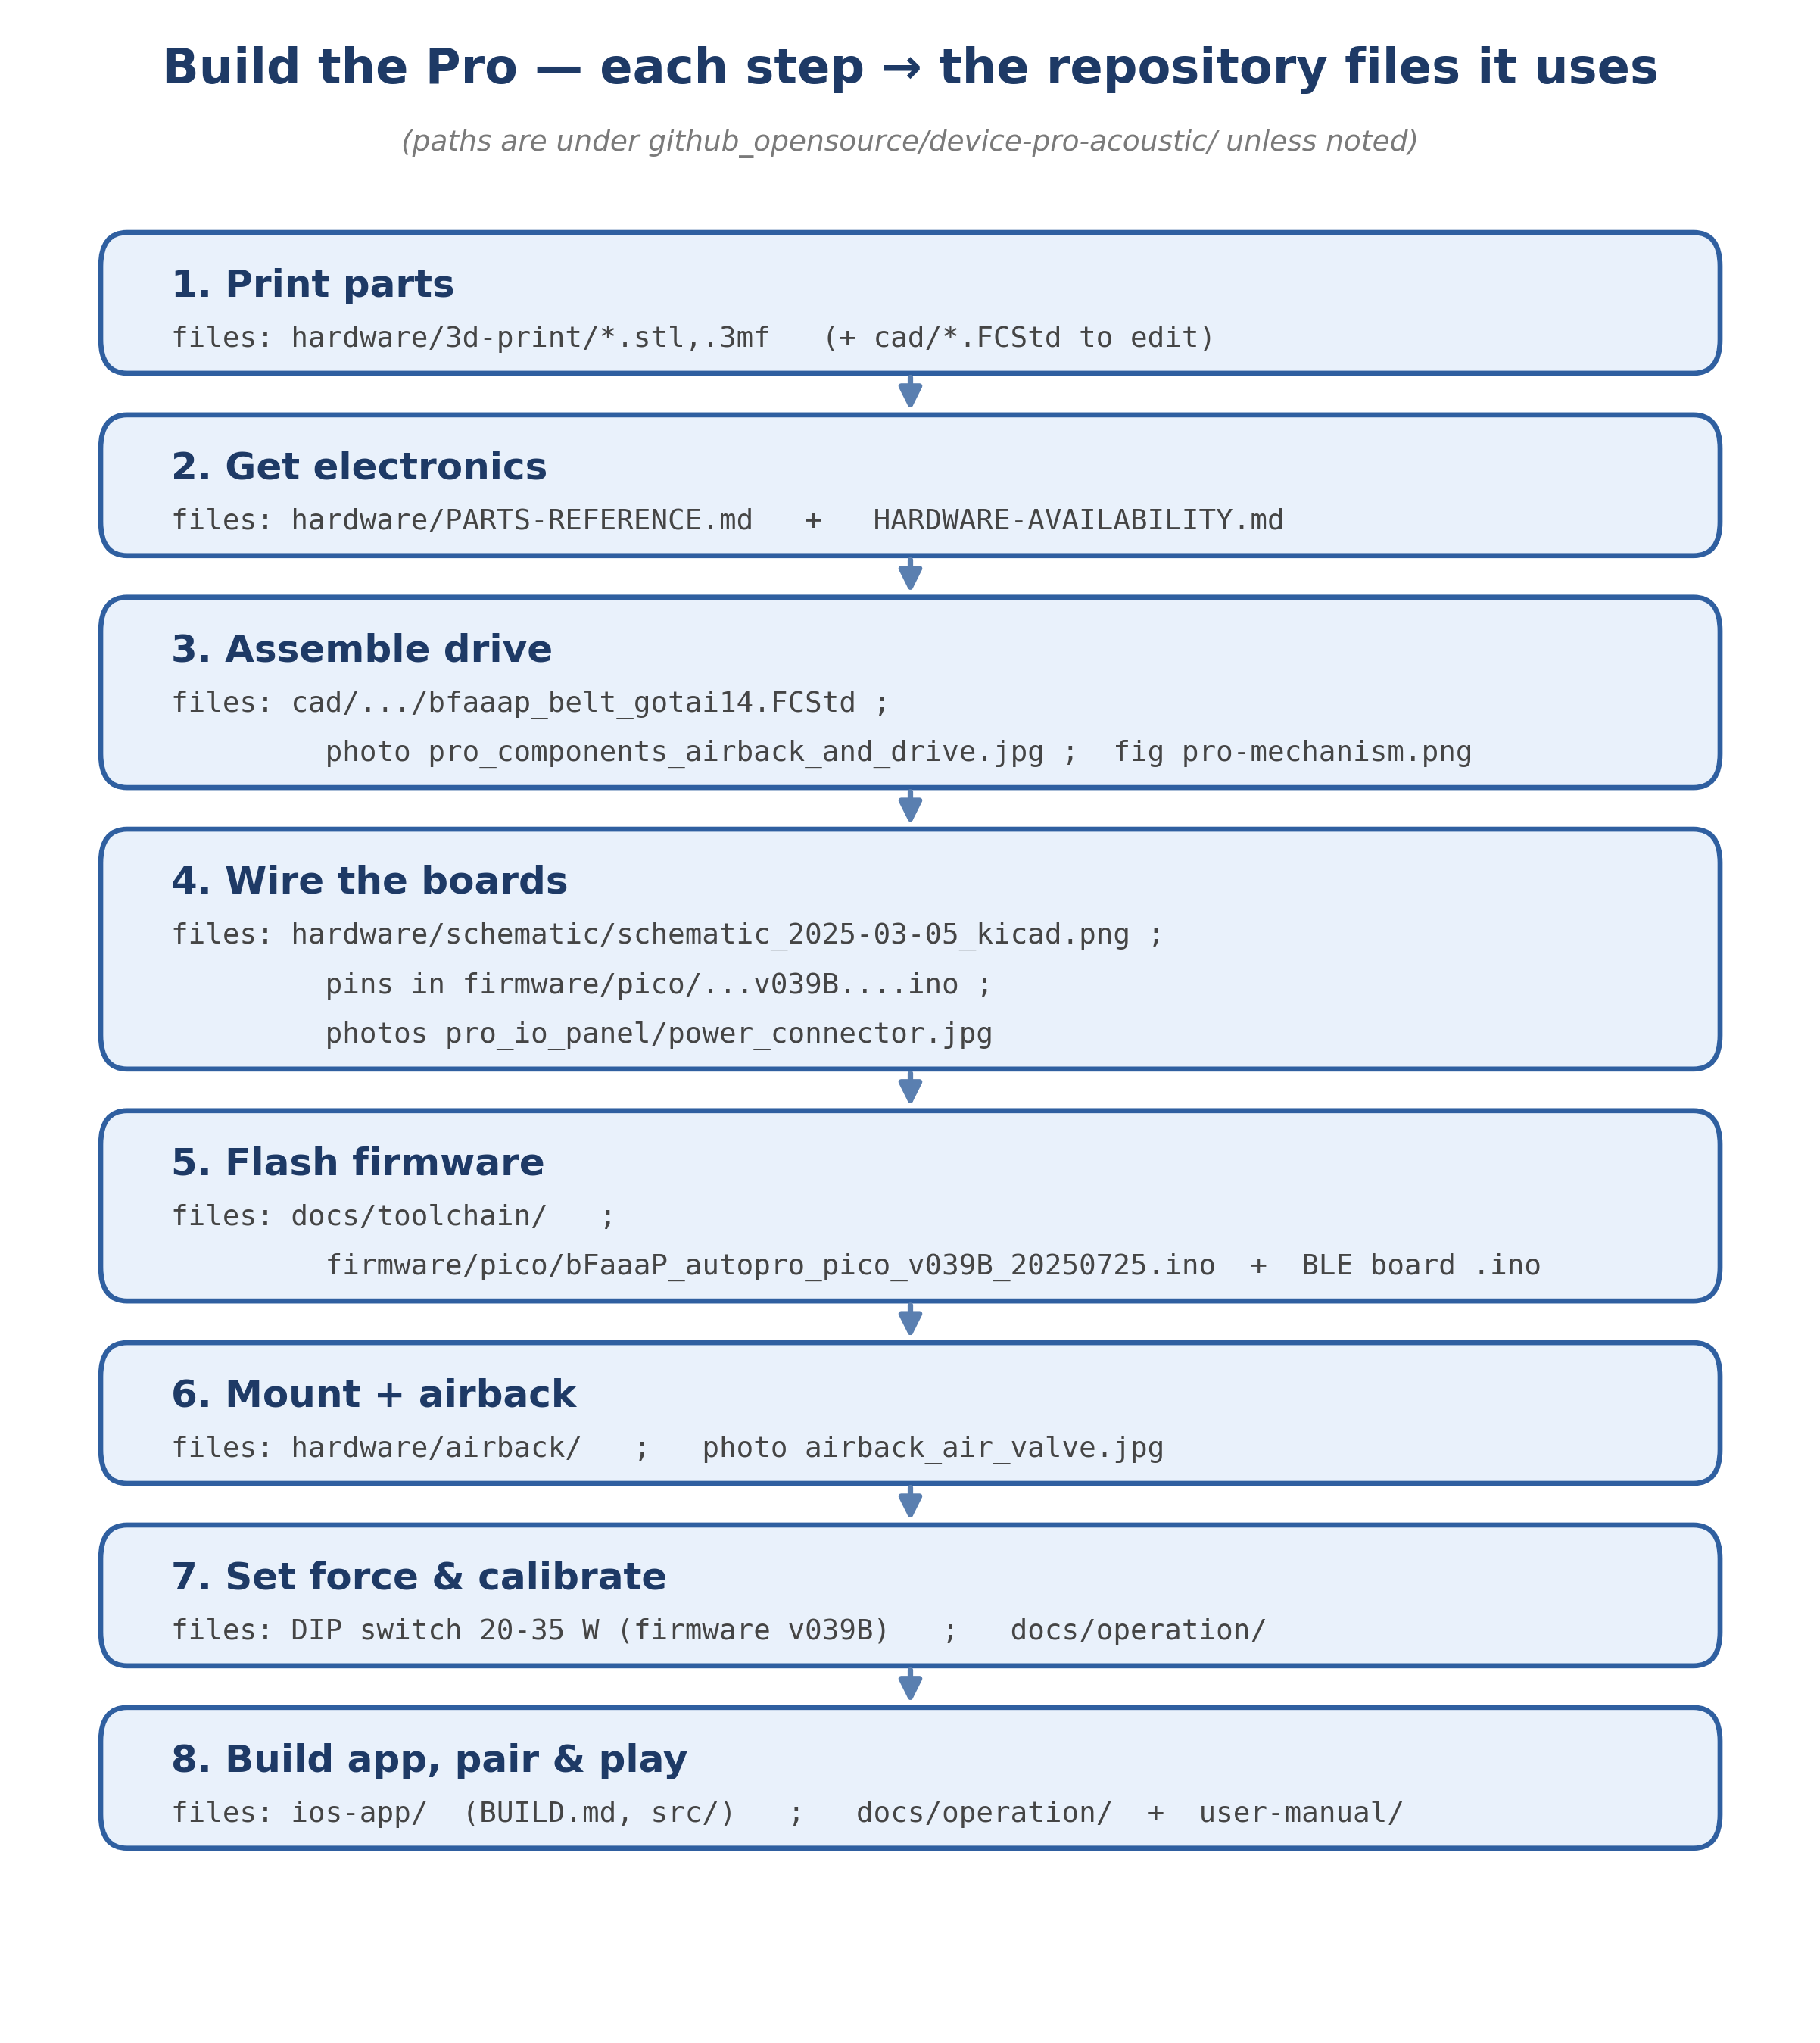
Print the frame, push-rod and boxes in PLA+ (0.1–0.2 mm). Order the electronics: Pico, nRF52840, the motor (NEMA17 successor), a +5 V fan, HX711, a MOSFET, a travel-limit slider and a 24 V PSU; plus the frame stock, GT-2-262 belt, T60 pulleys, T10 lead screw, and the WINBAG + electric pump airback.
- 2
Assemble the vertical drive
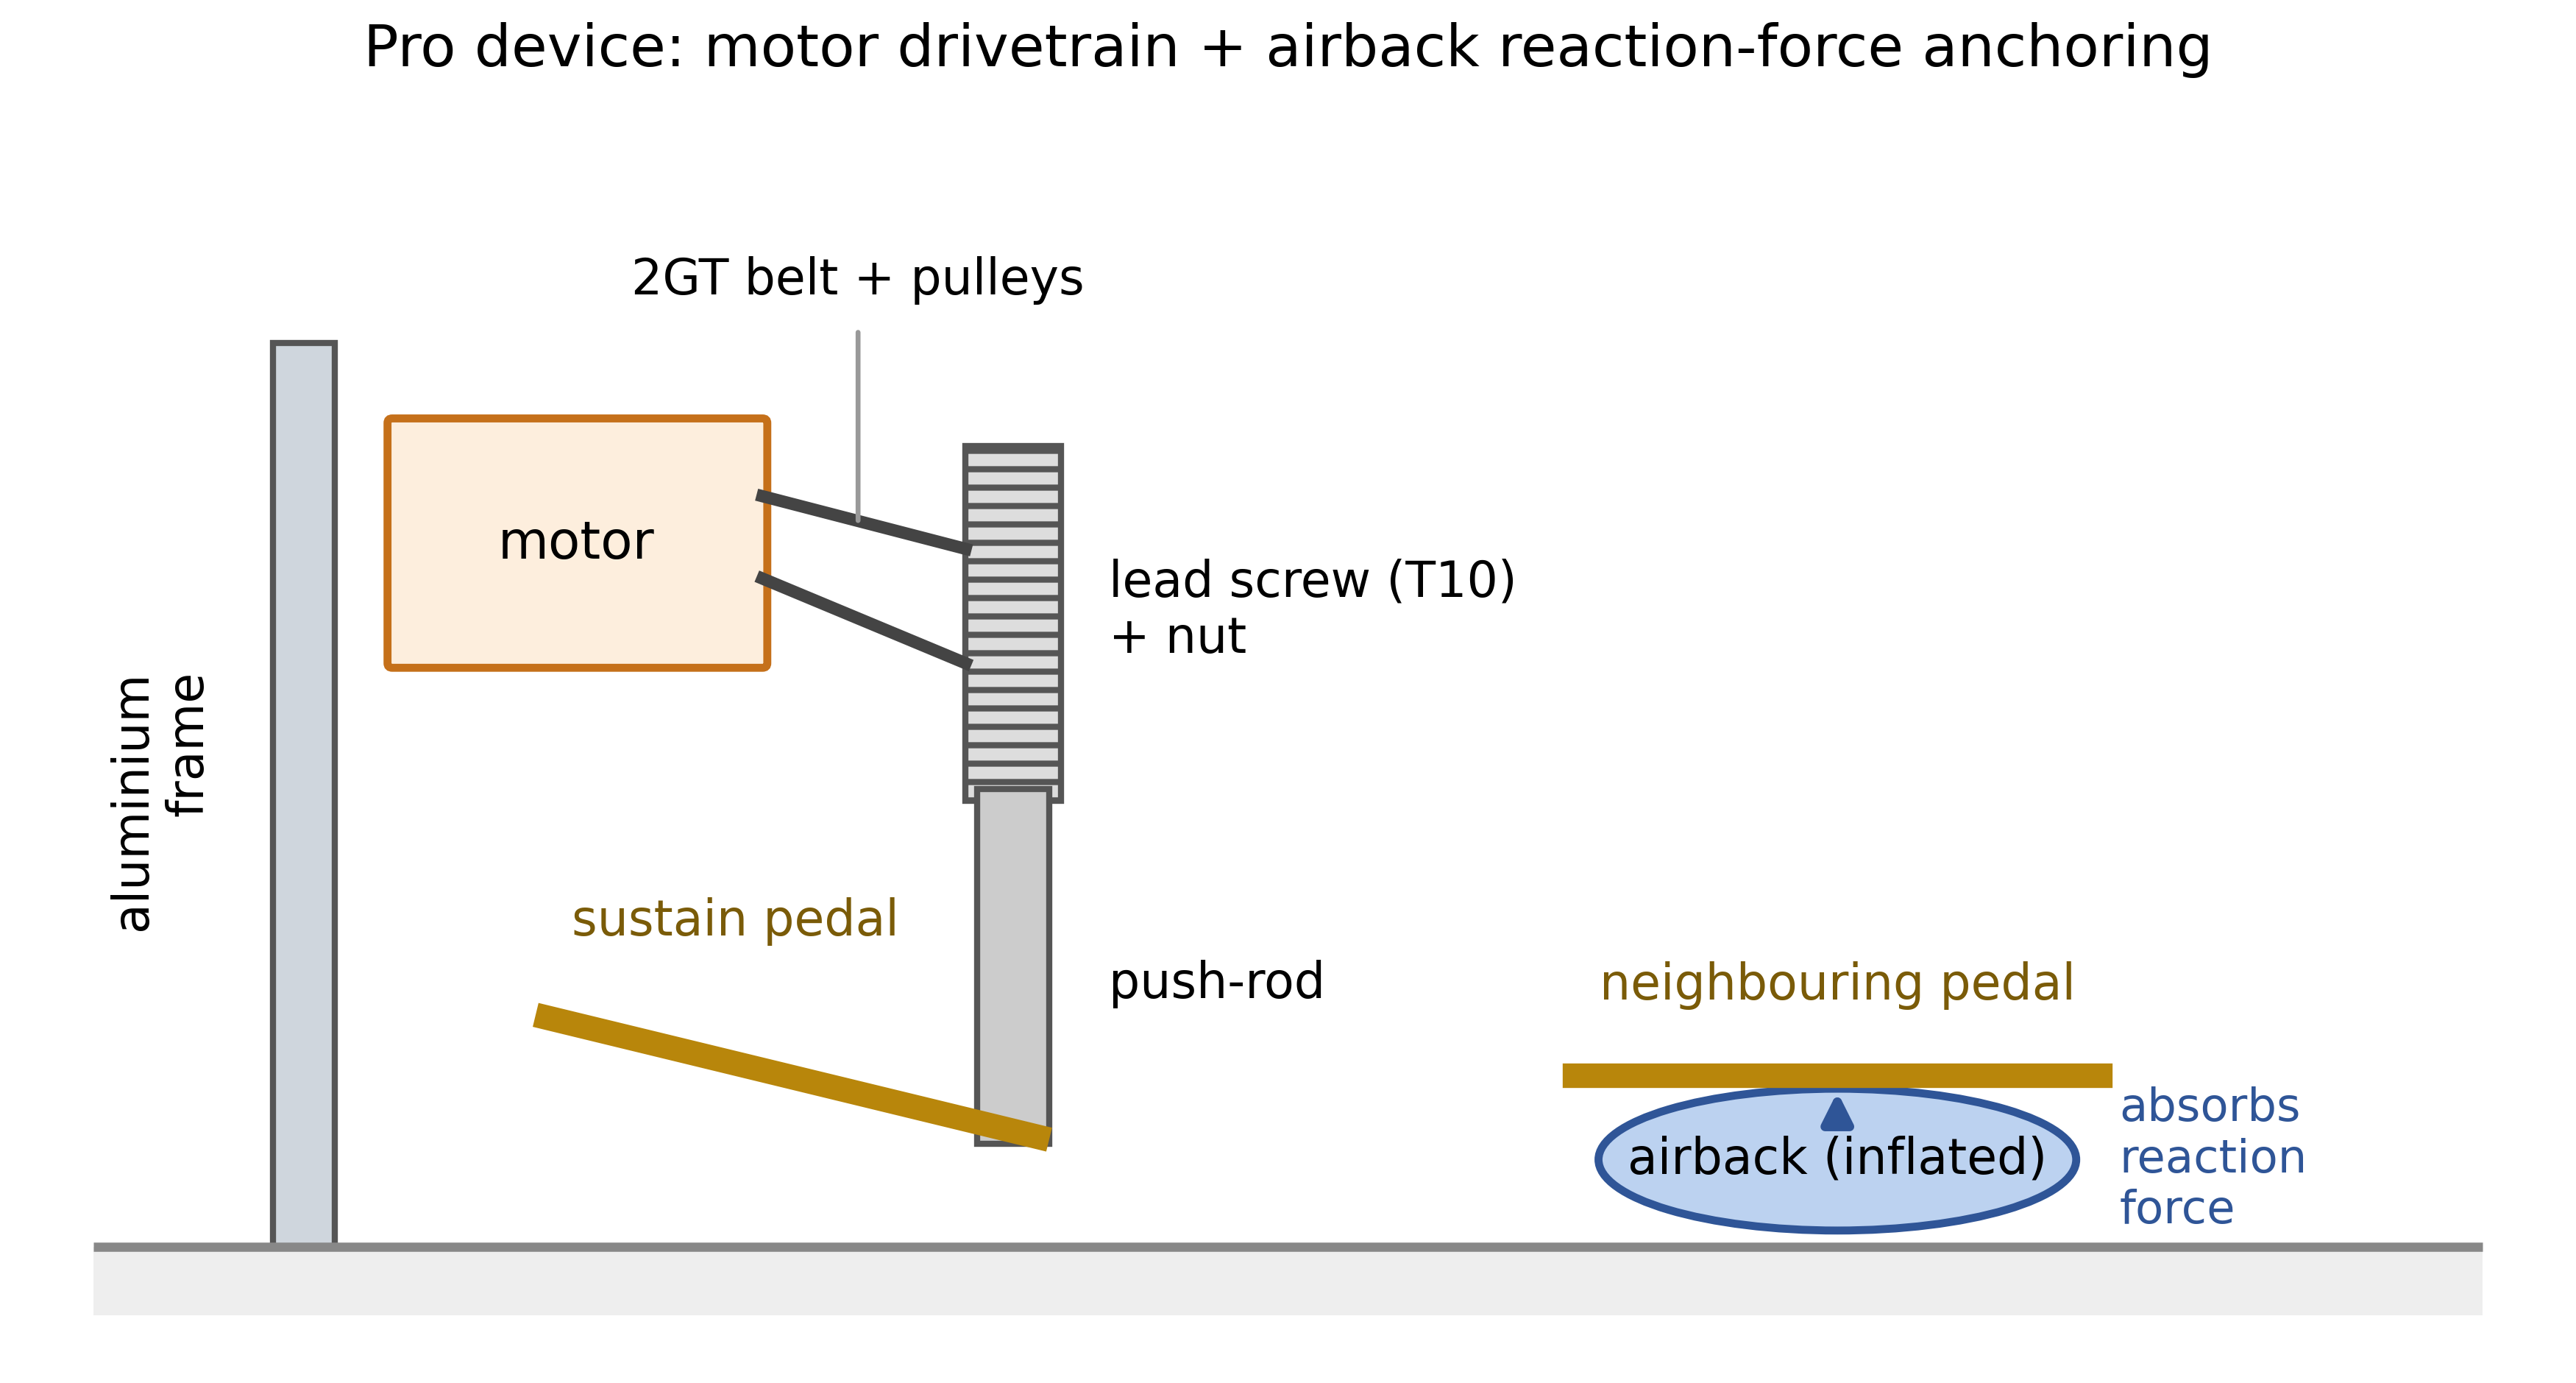
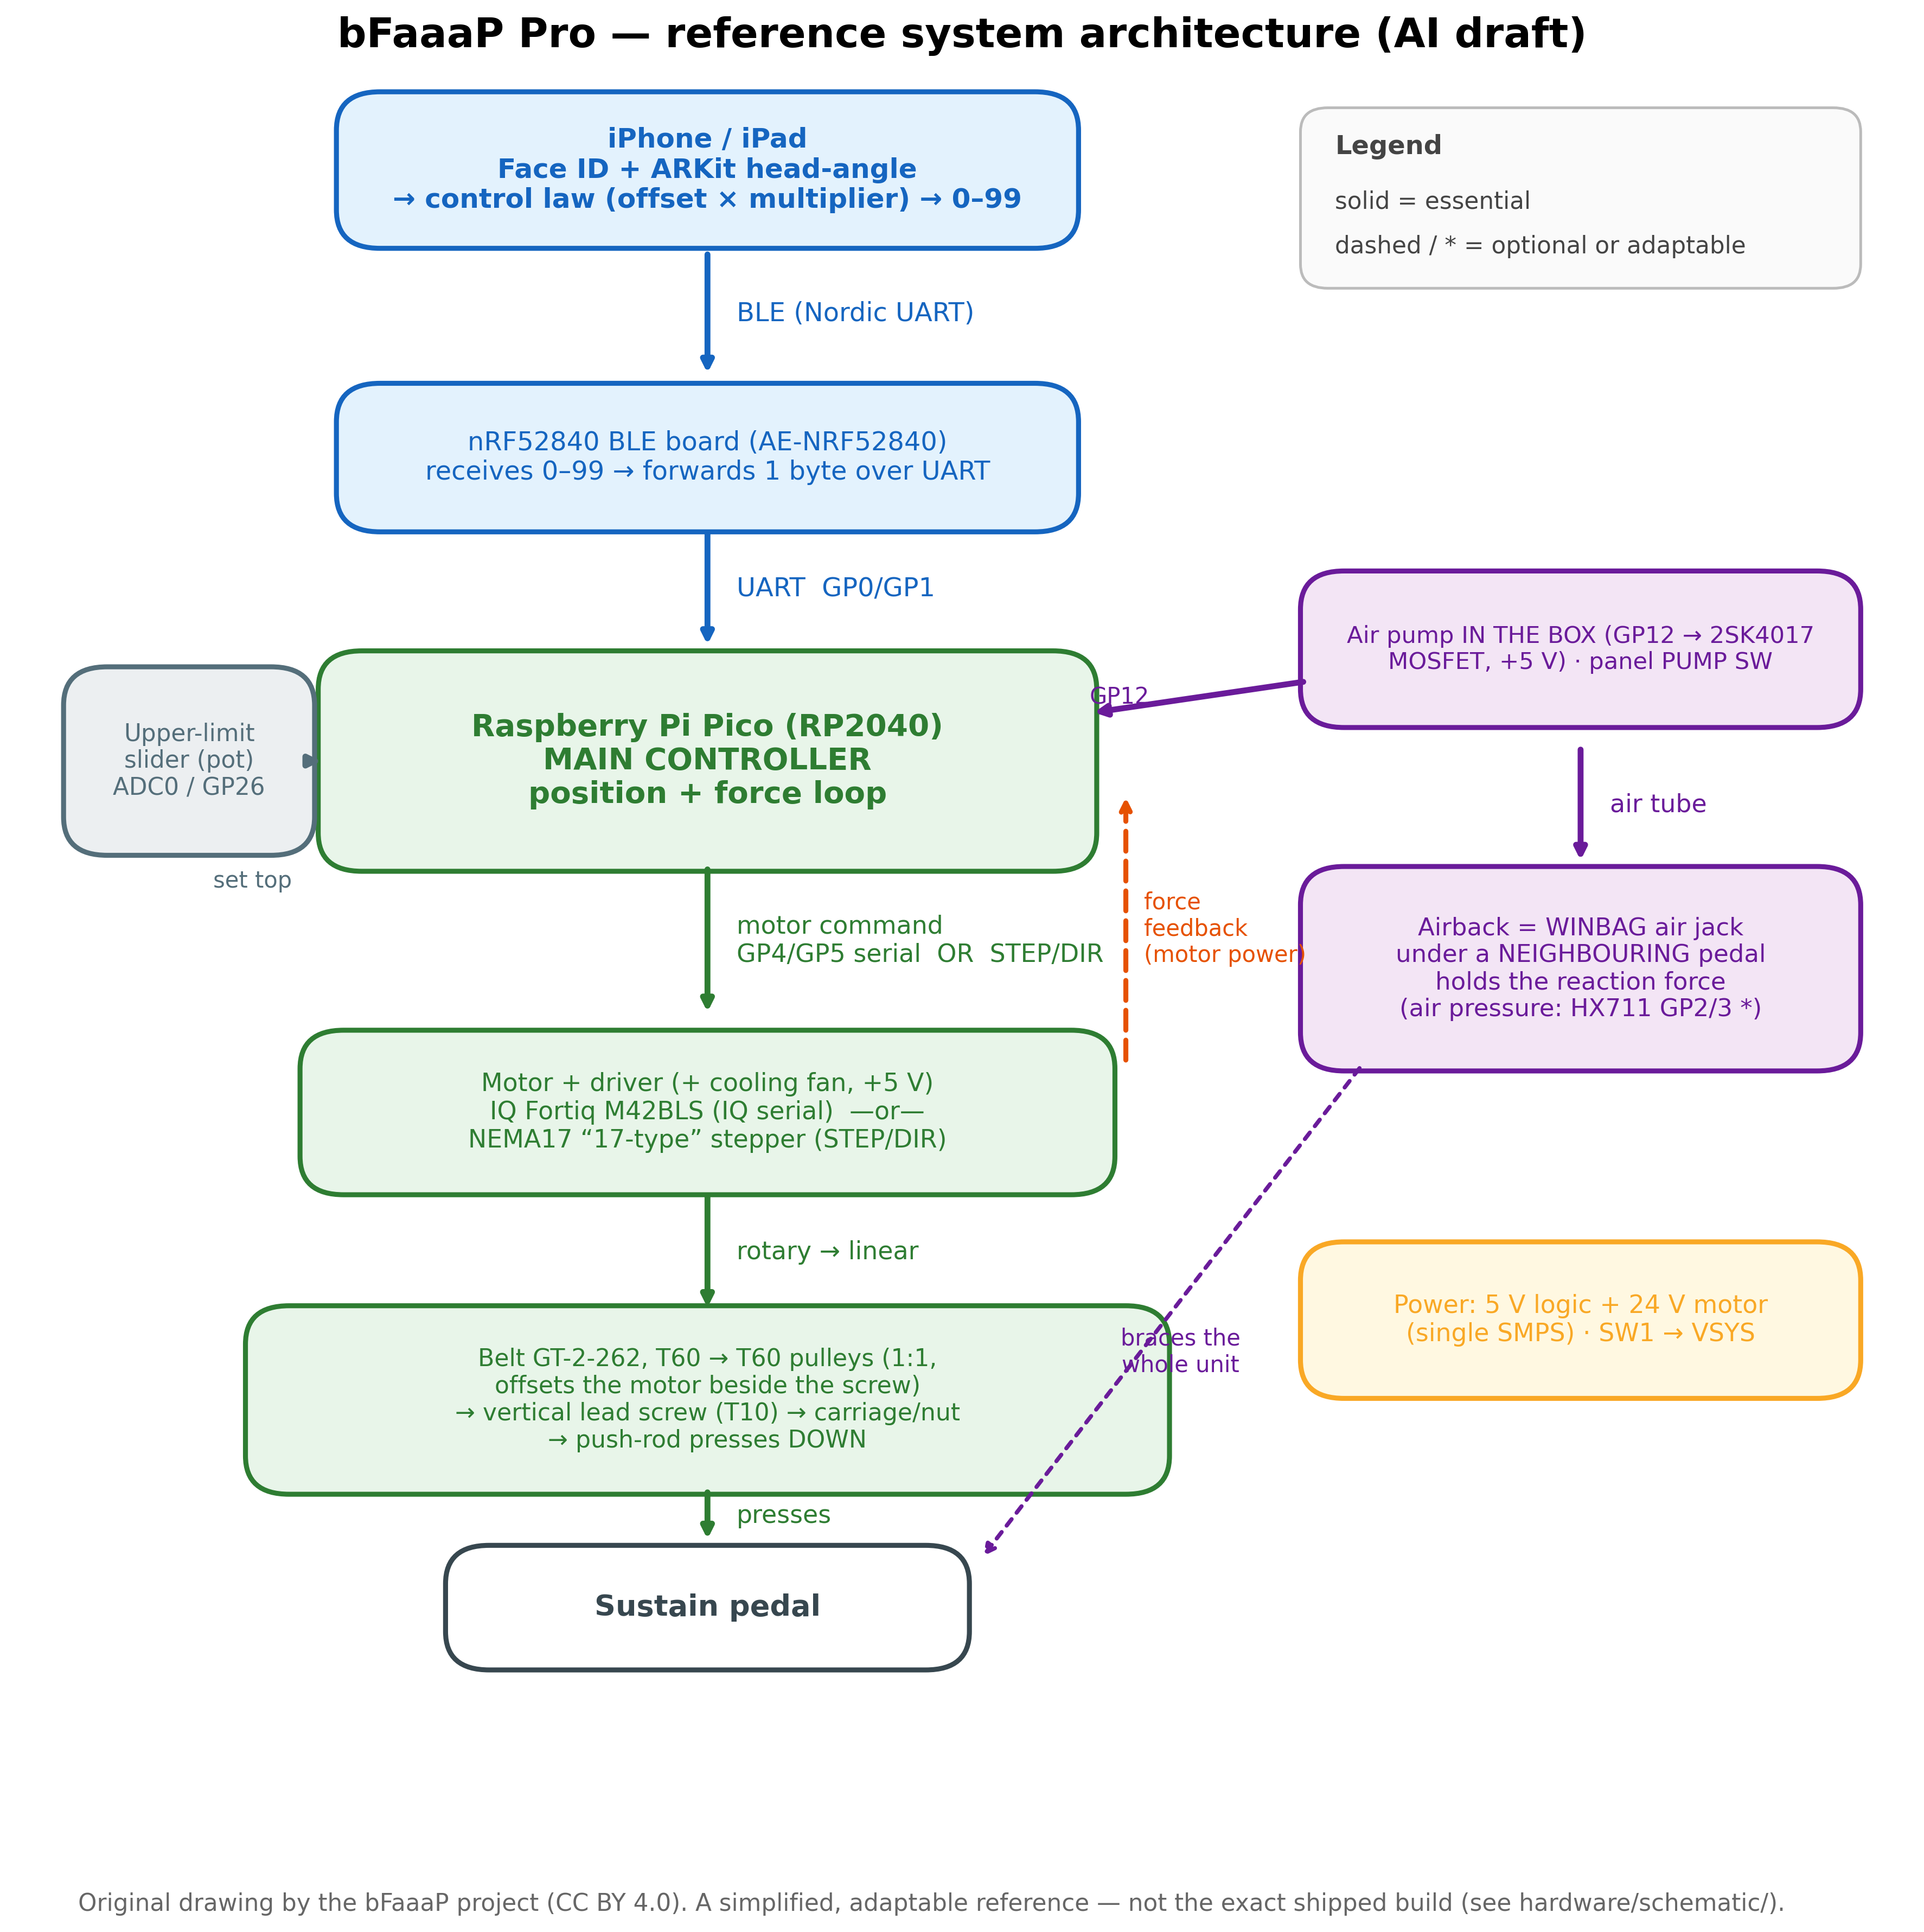
Build a vertical column: the motor sits beside the screw and couples through the GT-2-262 belt over two T60 pulleys (1:1 — it only offsets the motor, not a reduction); a vertical T10 lead screw carries a push-rod that presses straight down. Add the +5 V cooling fan.
- 3
Wire the boards & flash
Motor serial → Pico GP4/GP5; HX711 → GP2/GP3; air pump on +5 V via MOSFET → GP12; travel slider → ADC0/GP26; BLE ↔ Pico over UART, 24 V to the motor. Then flash both boards (BLE on nRF52, main on the Pico / arduino-pico core).
- 4
Mount on the piano + airback
Place the drive so the push-rod sits over the sustain pedal. Run the air tube from the box’s electric pump to the WINBAG and inflate it against a neighbouring pedal with the PUMP SW to absorb the reaction force — nothing touches the piano’s finish.
- 5
Set the force, calibrate, pair & play
Set the DIP switch for pressing force (20–35 W) and lift (5–20 mm); run the self-calibration (Serial Monitor @ 115200; ~50 mm safety cap). Then pair the app, preset offset and multiplier, calibrate the head-angle zero, and play.
Files on GitHub
- device-pro-acoustic/hardware/PARTS-REFERENCE.md ↗
- device-pro-acoustic/hardware/3d-print/ ↗
- device-pro-acoustic/hardware/schematic/ ↗
- device-pro-acoustic/hardware/reference-design/ ↗
- device-pro-acoustic/hardware/airback/ ↗
- device-pro-acoustic/firmware/pico/ ↗
- device-pro-acoustic/assembly/README.md ↗
- docs/toolchain/ ↗
Stuck on a step? Ask in AI-assisted Support — a maintainer-reviewed Q&A (not instant; real people check each answer).